Volunteer Plant to Homemade Pumpkin Puree
- Jenni

- Jul 28, 2023
- 3 min read
Recently I wrote about a volunteer pumpkin plant that has given me pumpkins already. Which in and of itself is a little weird considering it is July, but who am I to argue with nature. Once the pumpkins started ripening I had to figure out what to do with them all. The first harvest was at the beginning of July and I ended up with 9 Sugar Pie Pumpkins. I ended up feeding 2 of them to my chickens because pumpkin seeds are supposedly a natural dewormer. I'm not sure how true that is, or if it's just an old wive's tale, but even if it doesn't work then at least they had a fun snack to peck at.
So, today I decided it was time to do something with the 7 pumpkins I had left. I decided to make home canned pumpkin puree with them. I will also clean and bake the seeds as a snack. Here's the process I used.
First I put them all in the sink and washed off all of the dirt and broke the stems off. I've found that by taking the stems off before attempting to cut them I have an easier time cutting through them. Next, was the arduous task of cutting and cleaning them. My cutting board could only hold four halves at a time, so I had to keep placing them on the baking sheet as I finished them. I saved all of the seeds and guts in a separate bowl to deal with later. I'll bake most of the seeds to have as a snack, but the guts will end up going to the chickens or the composter.
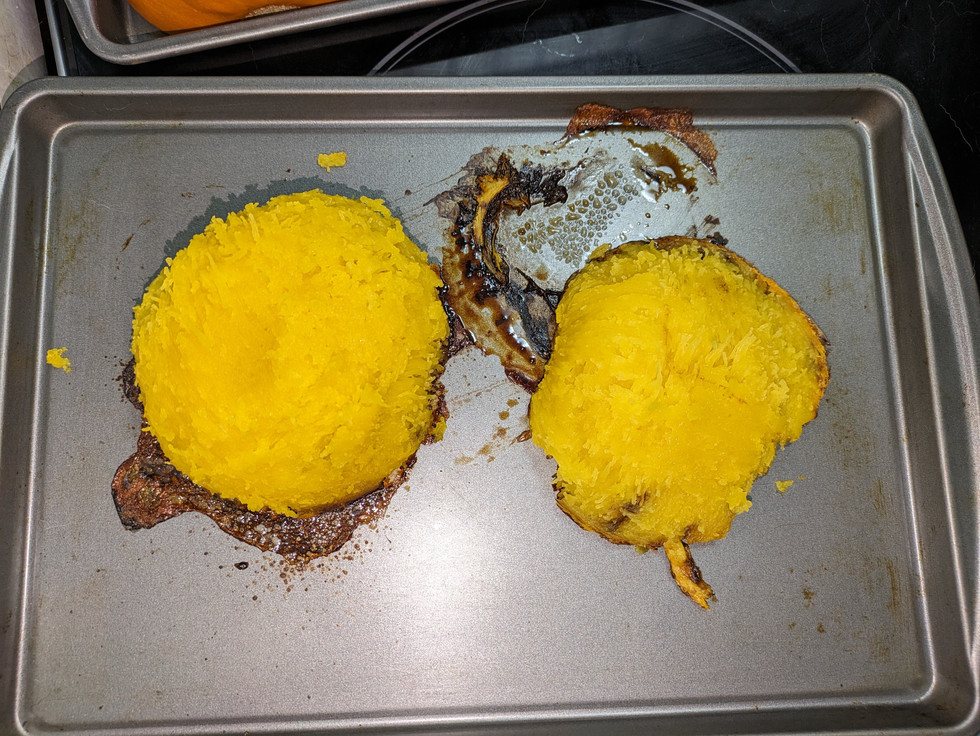
The next step is to bake the pumpkins. Everything I've found online said to bake at 350 for 45-60 minutes. However, I have a convection oven so I only bake mine for about 25-35 minutes depending on the size of the pumpkin. I actually only set a timer for about 15 minutes and then check them by trying to stab a fork through them. I've found that once the fork goes through them easily they're done. Once they're done in the oven I take them out to cool long enough to be able to touch without immediately burning my fingertips. I try to do everything while they're still pretty hot so that the canning process isn't as long. I also don't like standing in the hot kitchen as long either.
The next step is to peel off the skin and puree the flesh. I use my Ninja blender, but you can use pretty much anything. I don't add anything to the flesh; no sugar, no salt, nothing. Just straight pumpkin flesh pureed until it looks like baby food. Then everything gets added into the canning jars, rims get wiped with a clean towel dipped in vinegar and the lids are placed on. Next is a 3 hour water bath. I don't have a pressure canner yet, and the USDA does NOT recommend water bath canning pumpkin. However, this is not the first time I have done this, and every time I do it, it always turns out perfect.
Something I have learned is that not everyone cans the same. There are some who will stick to the strict canning recipes, and there are others, like me, who will stray off the path and be a little rebellious. I do not recommend canning pumpkin this way unless you have done this before or are willing to risk getting sick from not cooking something long enough. Canning is not for the faint-hearted. Many things can go wrong, and I suggest everyone do as much research as you can before jumping into it.
Overall, canning pumpkin isn't super hard, but it is a long process. For me it's worth knowing what is in your food and how it was processed, regardless of how long it took me to achieve it. I mean really, what else do I have to do all day?


Comments